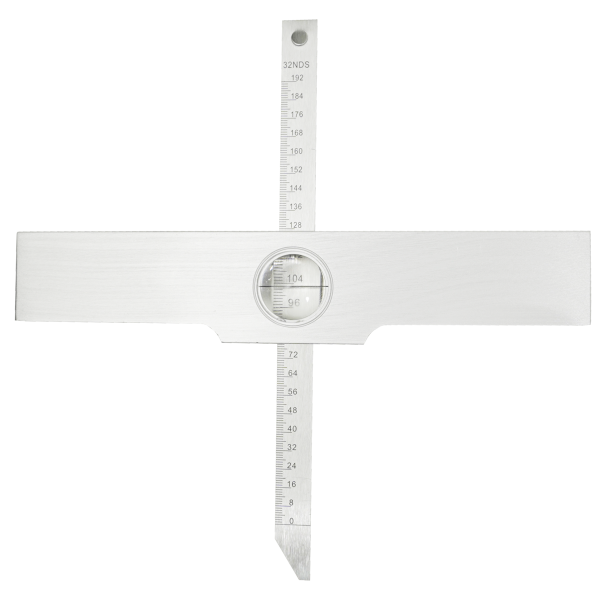
| Description | • Two-point contact for detection of geometry problems such as ovality and taper
• Carbide-tipped contact points for extended wear and improved abrasion resistance
• Includes all the necessary spacers, interchangeable extensions and ABS storage case | • Hammertone, baked enamel finished frame
• Ratchet stop | • One pair (red, black) of comfort grip probes
• CAT II 1000 V, 10 A rating | • Indicating bar is calibrated with 32nds on one side, other side is millimeters
• Has magnified sight-glass for easy readability
• Measures Tread Depth Up to 6 in
• Material: Aluminum | • Dual display two units of Kilogram & Newton, no unit conversion
• Switch freely between load peak (PEAK) test and continuous load value (TRACK) test
• Hand-held use or can be mounted on all types of work bench
| • Three modes switch between Inch/Fractions/mm
• Auto off screen
• Stainless steel |
| Content |
| Mfr.PN |
Size(mm) |
Graduation (mm) |
Part Number |
| 351-35 |
18-35 |
0.01 |
MT0000424 |
| 351-50 |
35-50 |
0.01 |
MT0000425 |
| 351-160 |
50-160 |
0.01 |
MT0000417 |
| 351-250 |
150-250 |
0.01 |
MT0000418 |
| 351-400 |
250-400 |
0.01 |
MT0000419 |
|
| Mfr.PN |
Size (mm) |
Accuracy (mm) |
Part Number |
| 232-25 |
0-25 |
±2μm |
MT0000109 |
| 232-50 |
25-50 |
±2μm |
MT0000110 |
| 232-75 |
50-75 |
±2μm |
MT0000111 |
| 232-100 |
75-100 |
±3μm |
MT0000112 |
| 232-125 |
100-125 |
±3μm |
MT0000113 |
| 232-150 |
125-150 |
±3μm |
MT0000416 |
| 232-175 |
150-175 |
±3μm |
MT0000429 |
| 232-200 |
175-200 |
±3μm |
MT0000430 |
|
| Mfr.PN |
Temperature Range (C) |
Temperature Range (F) |
Part Number |
| 275-550 |
-50˚ to 550˚ |
-58˚to 1022˚ |
MT0000383 |
| 275-880
|
-50˚to 880˚ |
-58˚ to 1616˚ |
MT0000439 |
| 275-1100 |
-50˚ to 1100˚ |
-58˚ to 2012˚ |
MT0000426 |
| 275-1600 |
-50˚ to 1600˚ |
-58˚ to 2912˚ |
MT0000427 |
|
| Mfr.PN |
Length(in) |
Calibration(in) |
Part Number |
| 335 |
7” |
0.0313” |
MT0000420 |
|
| Mfr.PN |
Max Load (N) |
Max Load (Kg) |
Load Graduation (N) |
Load Graduation (Kg) |
Part Number |
| 398-50 |
500 |
50 |
2.5 |
500 |
MT0000421 |
|
| Mfr.PN |
Size (mm) |
Size (inch) |
Part Number |
| 437-6 |
150 |
6” |
MT0000043 |
437-8
|
200 |
8" |
MT0000440 |
| 437-12 |
200 |
12” |
MT0000044 |
|


